An Introduction to Vacuum Bagging Composites
I've been making plugs, molds, and hand layup parts since about 1990, but I'm relatively new to vacuum bagging. (2002) So, I'm not an expert, but will share what I learn, as I go. If you've done hand layup fiberglassing, but haven't tried vacuum bagging yet, I urge you to take the plunge. There's a little more preparation to do when making parts, but the results are lighter and stronger... and after all, that's what we're all searching for isn't it? Vacuum bagging is a much more consistent method of applying fiberglass to other parts, and/or molding fiberglasss parts in a mold, than any hand layup method, since the pressure exerted over the surface is uniform.
The concept is simple. Using a vacuum system allows all the excess resin to be extracted from your parts, during the early cure stages in your molds. Excess resin only adds weight and not strength, so this is good. The inherent nature of the process also produces a very nice finish on the interior or your parts, free of this excess resin, and suitable for gluing formers and other items in place. As a bonus, it looks much cleaner and more professional. Typical weight savings are average 25% or more. On a .60 -size model for example, it's the difference between 4 pounds and 3 pounds, for the fiberglass components. The process isn't terribly expensive, and it isn't terribly technical or difficult, so give it a try! Obviouslly, you'll need a vacuum pump, and these are easily obtained from all the popular composite suppliers. The other items are relatively inexpensive, and some are reusable.
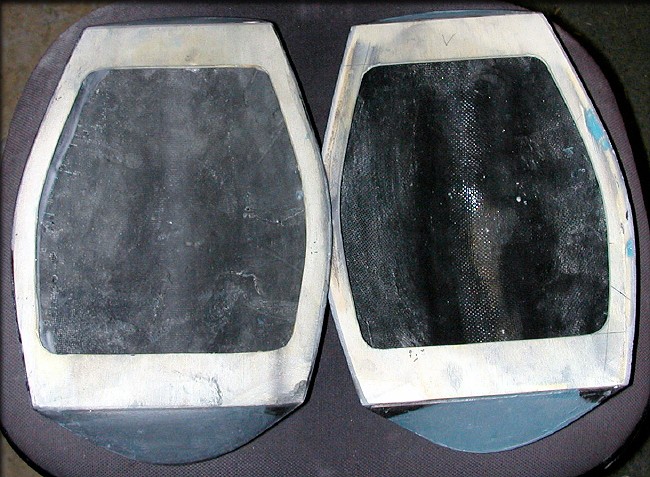
|
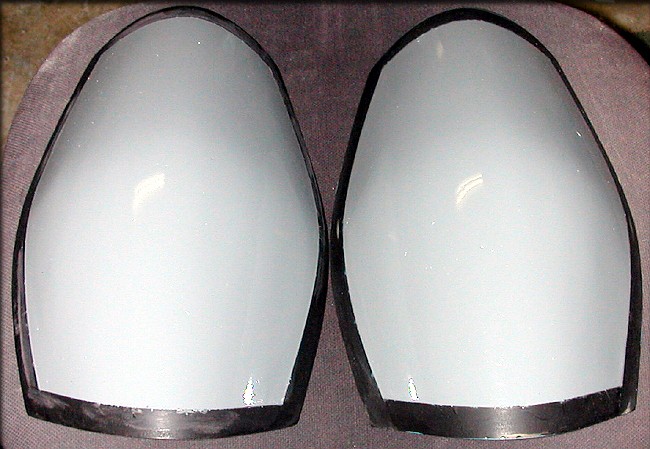
Here are two virtually identical fiberglass canopies, made two different ways... (These are about 12 inches long, and about 6 inches wide.) |
|
The canopy on the left was vacuum bagged. The canopy on the right was a hand layup. The vacuum bagged version has much less resin on the inside, (less shiny) and it weighs 25 percent less. |
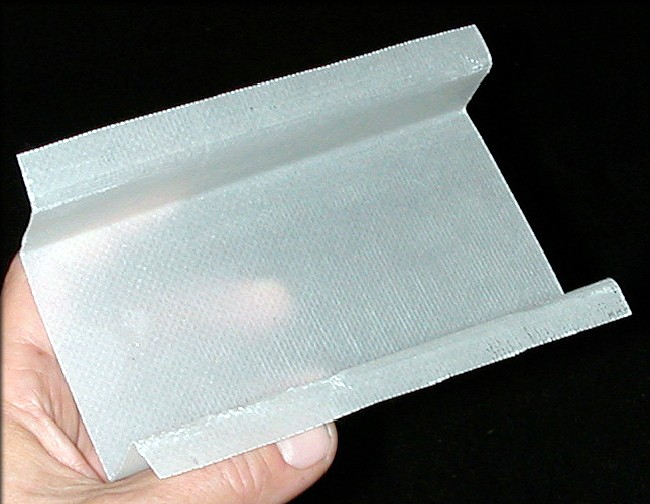
There are various ways to vacuum bag parts, and each method calls for a few additional things in the mold, aside from the fiberglass and resin. Here's an image, (below) courtesy of Fibre Glast Developments Corp., which shows a typical bagged layup.
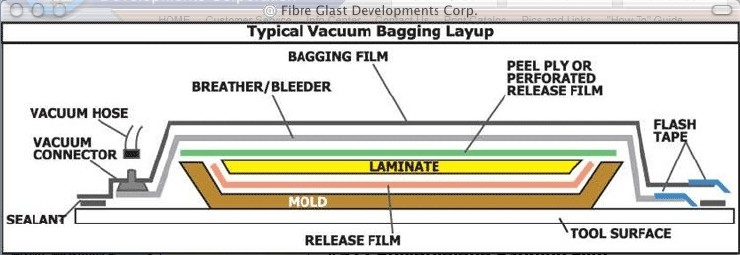
This image shows a method of "bagging without a bag", meaning that the mold itself serves as half of the bag, and the bag material is sealed to the mold, around the flange. Of course, you could just place your entire mold inside a large bag and seal it, too. Personally, I haven't found it necessary to use "Flash Tape", and will show you how I've been doing it, a bit further into this article. After applying resin to the material in your mold, the other layers are immediately applied. As the pressure pulls the materials against your mold surface, resin will migrate through the peel-ply (without sticking to it) and into the breather-bleeder, which is often a material like felt. Resin won't stick to the bag either, so removing the parts later is easy.
There are a few details worth mentioning...
It's important that your "bag" is leakproof. This enables you to pull vacuum with a pump, then clamp the hose or shut off a vave, and still maintain vacuum inside the bag. If your system has leaks, then you must leave the pump on to keep vacuum. How long? It's important to leave your parts under vacuum until the resin has cured to the point where it's no longer being extracted through the peel-ply. If you're creating a glass layup like the one above, against a hard mold, the amount of vacuum pressure isn't critical. You'll see this as you make parts. Moderate to high pressures (say 20 inches of mercury) are fine. If you're vacuum bagging a skin onto a foam core wing, you'll want to use approximately half that pressure, to avoid crushing the foam. Again, this will be obvious as you make your first parts.
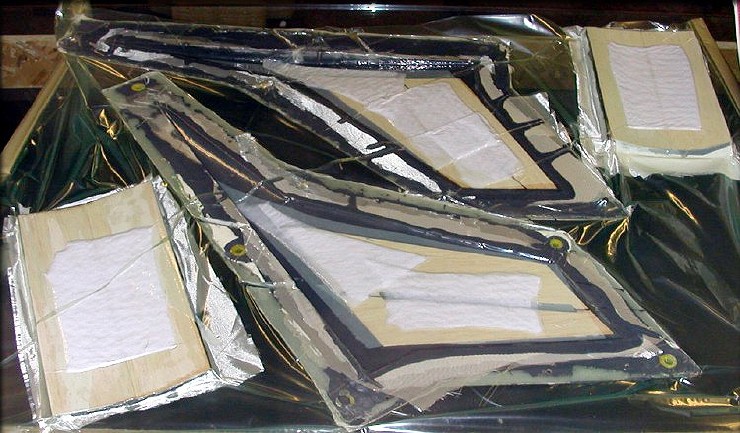
The peel-ply MUST extend across the entire perimeter of your part. If you don't do this, then excess resin around the edges will stick to the breather-bleeder, and you'll have a tough time pulling it off your parts. The breather-bleeder should generally go across the whole area too, but it's not going to screw anything up if you don't. In fact, you can use the placement of the breather-bleeder to selectively control where resin is removed. (See below for some tests I did using that method.)
I've found that it's better to pull the peel-ply and breather-bleeder from the part all at once, and then separate those things outside the mold. (before removing your finished part. If you try to pull the breather-bleeder felt away from the layup, it can be stubborn, and may pull your part away from the mold with it, possibly causing a crease or tear. Outside the mold, the two materials are easy to peel away from each other.
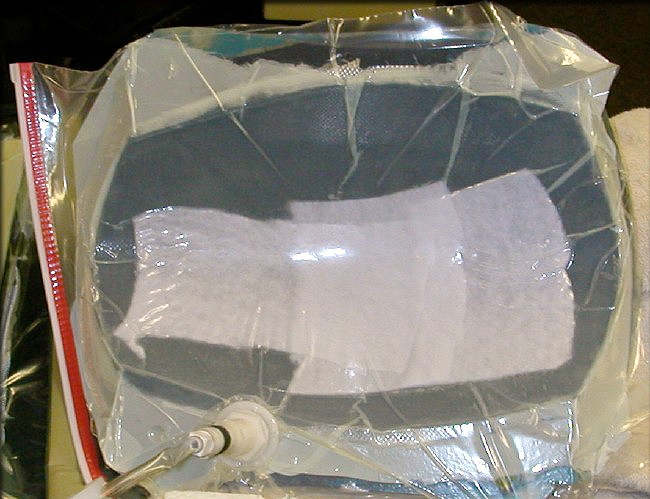
This canopy was my first vacuum bagged part, and is about as simple as you can get. I attached a vacuum fitting to an ordinary sandwich bag, and put the canopy mold inside. Using breather-bleeder felt only in the center of a part like this won't hurt anything, but... After doing some parts like this, I find that I prefer for the whole part to be equally dry, for a variety of reasons. Note that the peel-ply extends beyond the perimeter of the mold. If you do something like this, the resin will still get pulled away from your part, but will be stuck to the peel-ply. If you use breather-bleeder across the entire mold perimeter, then all of the removed resin will migrate into it, and you can use your peel-ply again.
Here, I've made a very large bag, and placed multiple molds inside it, in an early test. Again, this test proved that it's better to have breather-bleeder material across the entire mold surface. This image shows what NOT to do.
When you prep your materials, make sure the bag has enough slack in it to conform to your parts. If your assembly is like the one in the image above, for example, make sure you cut the bag material large enough to allow for the depth of your mold, and trial-fit it before tacking the bag material down. The first time you make a part, this will be obvious, and it's easy to fix, if you make a mistake. You'll find it handy, when planning your system, to allow for a manifold of some sort, with multiple outlets. Because of the time it takes to prep any individual bag, it will help a lot if you can start one, prep another, come back later and shut off individual valves, etc..
If you are using a large bag as in the image above, with multiple parts in it, you may find that some parts are under vacuum, while other parts are not, due to the bag material itself creating "seals" between the various molds. This is easy to fix. Simply take some scrap pieces of breather-bleeder felt, and use them to "connect" the various molds. The breather-bleeder felt allows air to pass between the various molds, so that they all get equal vacuum pressure.
Like other laminating jobs, you'll need to use a slow-curing resin. The goal is to have time to apply the resin to your parts, assemble all the materials in the image above, and get it under vacuum before the resin has a chance to start to gel. So,cut and prepare all the materials above before you start applying the resin.
Imagine trying to remove all the excess resin from a mold like the one below, by scraping it, using rollers, paper towels, toilet paper, or whatever. You can do this if you're careful, but it's tedious, and when there are many corners in the mold, you risk pulling the glass away from the mold surface. This is actually a spot in the procedure where you can be "sloppy", with a vacuum system. Note how the glass is pulled down firmly into all the corners, in the fuselage mold top, below.
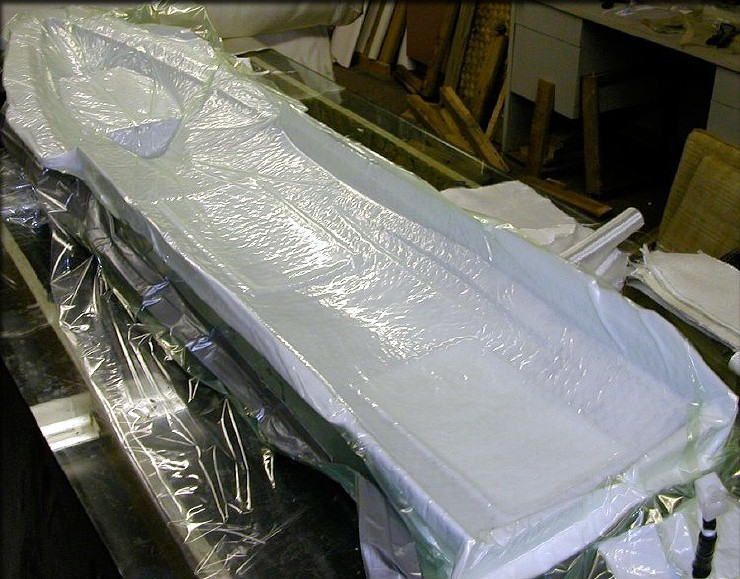
This particular mold doesn't have a suitable flange for sealing a piece of bag material to, so the entire mold was put in a big bag. All the glass is pulled into the corners, nice and tight.
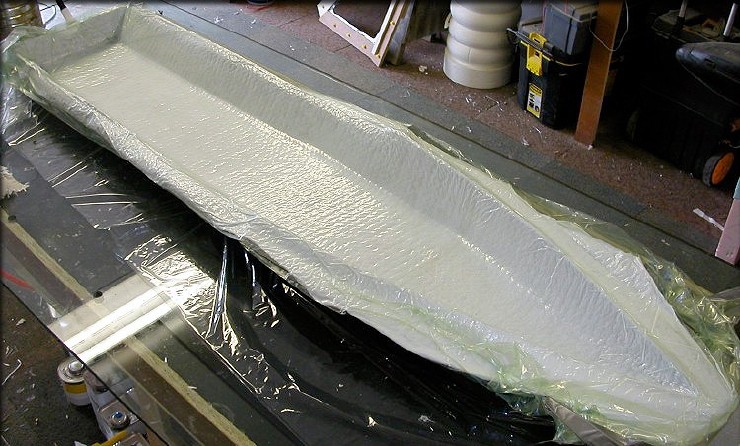
Here's the bottom half of the same mold... a much simpler shape.
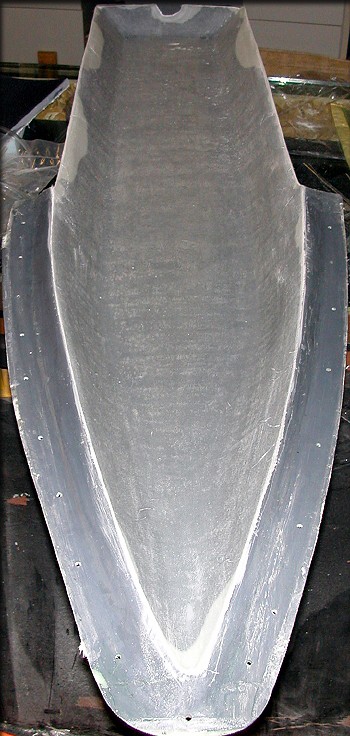
And here's the finished result. This is a very dry, light, and neat layup, thanks to the vacuum. The white spots at the rear edges are where I pulled the layup away a little bit after curing, to check it. No problems.
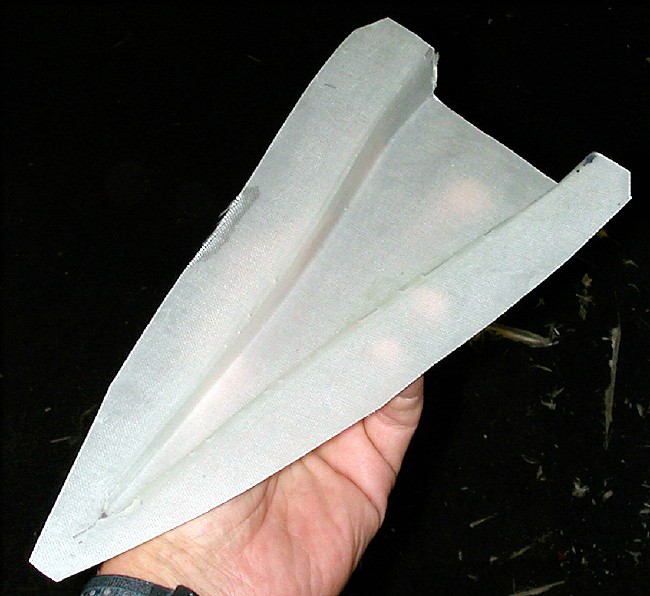
A small duct sample, much cleaner and lighter than would be possible by hand.
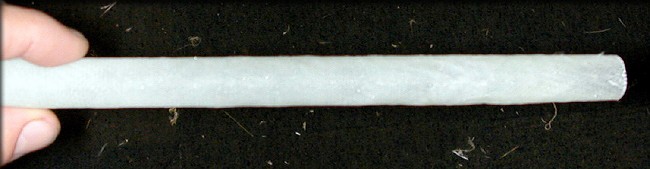
Here's a NACA inlet, almost weightless. A single layer of 4 oz. glass weighs about as much as a piece of typing paper.
Here's a vacuum bagged wing tube socket. It weighs 2 tenths of an ounce, and is very strong.
Sandwich Core Construction
One of the basic concepts in composite construction is that if you can use a core of some kind, to separate your outer pieces a bit, you can increase it's strength and stiffness. Today, there are a huge variety of possible core materials you can experiment with, from some rather expensive synthetic foams, to something as simple as balsa. If you haven't tried this yet, you'll be completely amazed at how much difference a simple piece of 1/32" balsa can make on a molded part, for almost no weight gain.
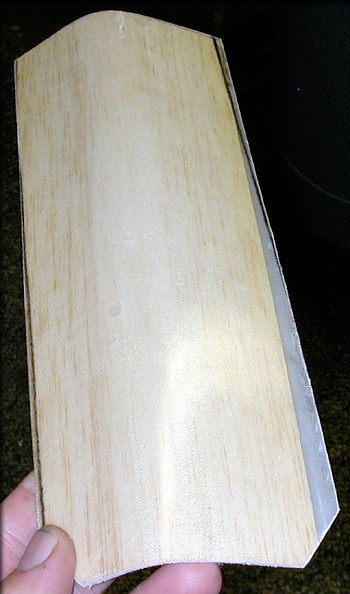
Another product that would be difficult to keep light, by hand. This landing gear door is a glass/balsa/glass sandwich, and weighs 2 ounces. Thanks to the 1/32" balsa core, it's extremely stiff.