- Design
- Development
- Simulator Tests
- Construction 01
- Construction 02
- Construction 03
- Construction 04
- Construction 05
- Construction 06
- Construction 07
- Construction 08
- Construction 09
- Construction 10
Construction 07 (Final engineering and assembly)
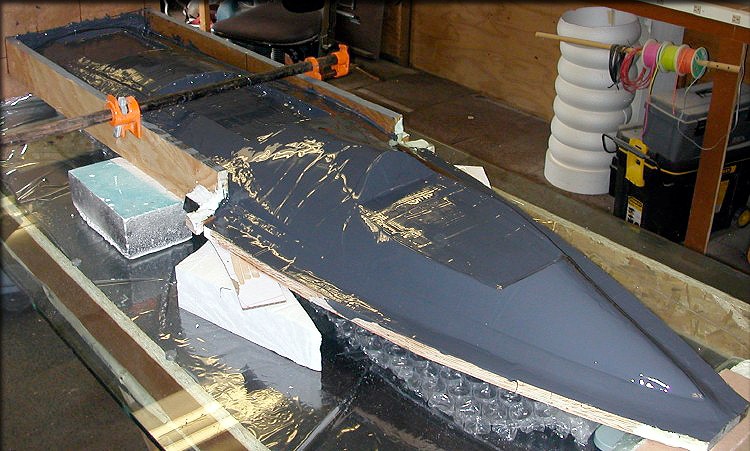
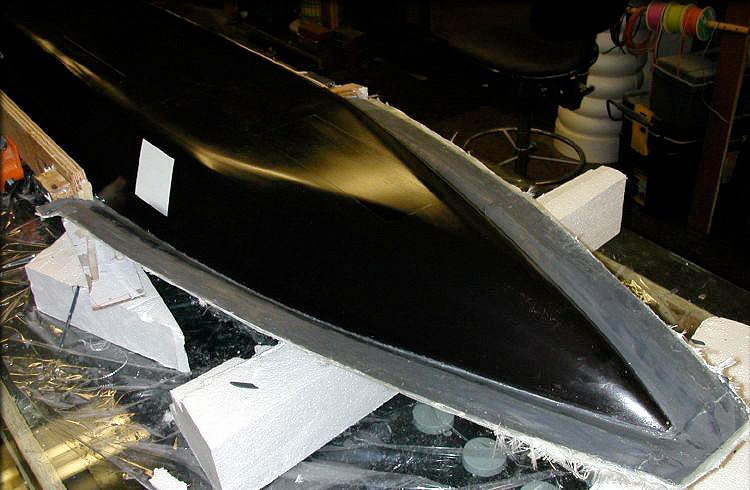
After waxing and PVA-ing the plug and parting board, the whole assembly was coated with tooling resin, pigmented black. This was allowed to tack in until moderately firm (a couple of hours) then a bead of epoxy/Cabosil was painted into all the sharp corners. That allows the cloth to fit around the part more tightly than it would if those corners weren't rounded off a bit.
The top of the fuselage has a lot of openings, for the hatches and canopy, so this forced me to use a lot of small pieces of cloth, rather than large pieces. That makes the process take longer, and it also makes the assembly less pretty, but just as functional. The difference will be obvious when I do the bottom half of the mold, which is one long continuous curve. It'll be a lot easier.
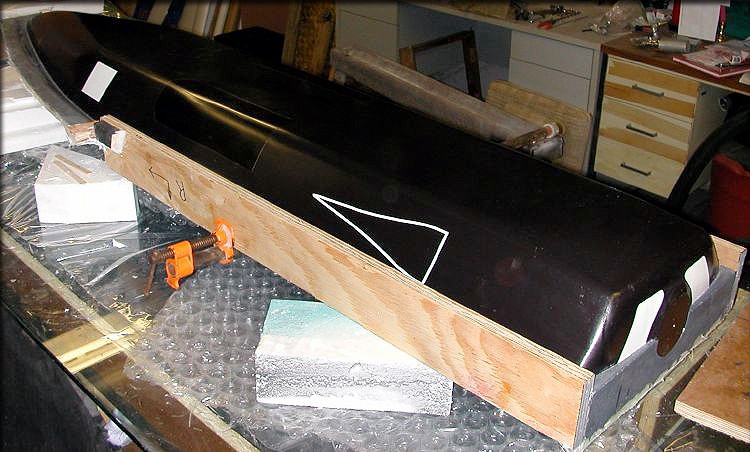
The next day,all the seams, which produce sharp little fiberglass needles, were sanded down a bit, to make the mold easier to handle. Then, I brushed on some epoxy and microballoons around the plug openings, to seal all the little pinholes and any small gaps in the cloth. This step may not be necessary, but is a little extra insurance that everything is sealed and supported well. I don't want any surprises later. I'll let this sit until tomorrow, then come back and give it a little more sanding, just for handling purposes. Then, the second mold half will be done.
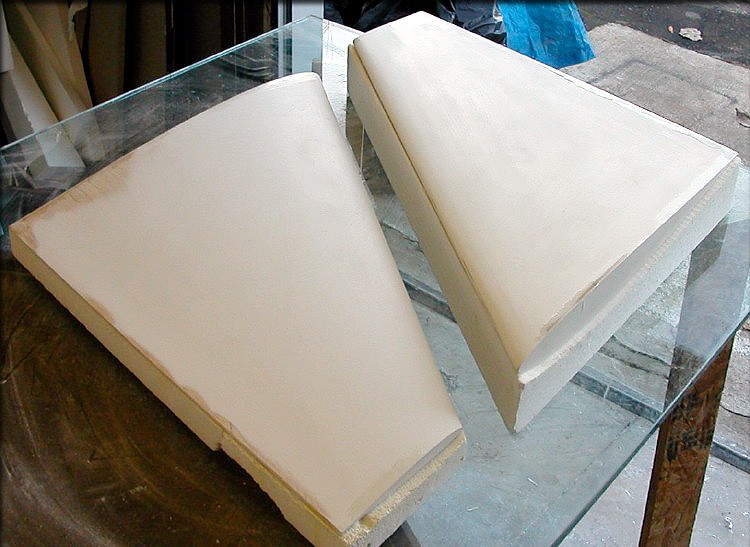
I'm working on the wing plugs, whenever I'm waiting on epoxy on the fuselage to cure. These parts are almost ready for the final finish... Just filling small pinholes, and checking that both wings are the right shape, now. The wings on this plane (Selig 6062) are not symmetrical, so they require two different plugs... A pain, but worth it in the end.
Removed the front and rear portions of the parting board, and here's what I have. Looking good...
You can see the seam line wall at the rear of the plug here, right on the spinner centerline.
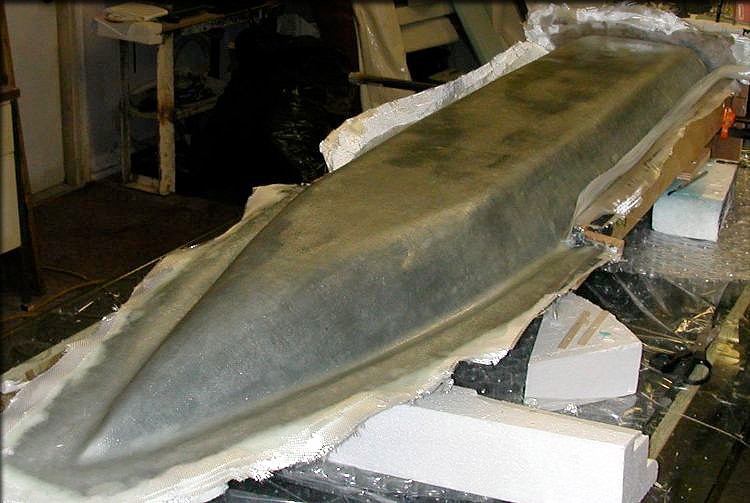
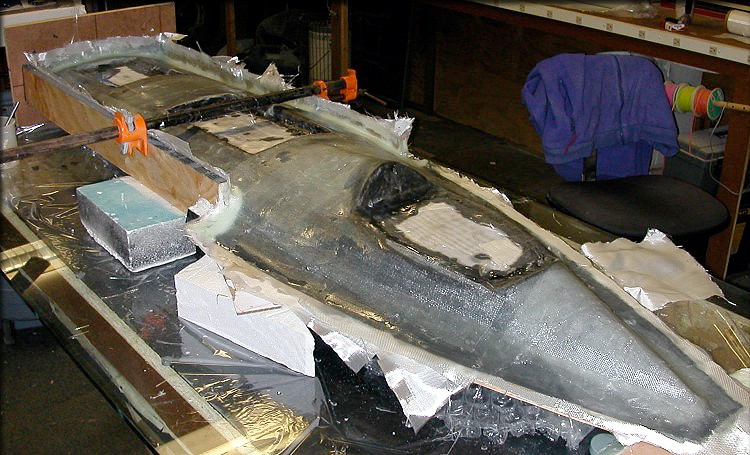
Same procedure was used for the bottom mold as for the top... Wax, PVA, tooling resin, then a lot of cloth and resin. Since there are no hatches or openings on the bottom, glassing it was a lot easier. Stay tuned for the side portions next, which will finish this mold.
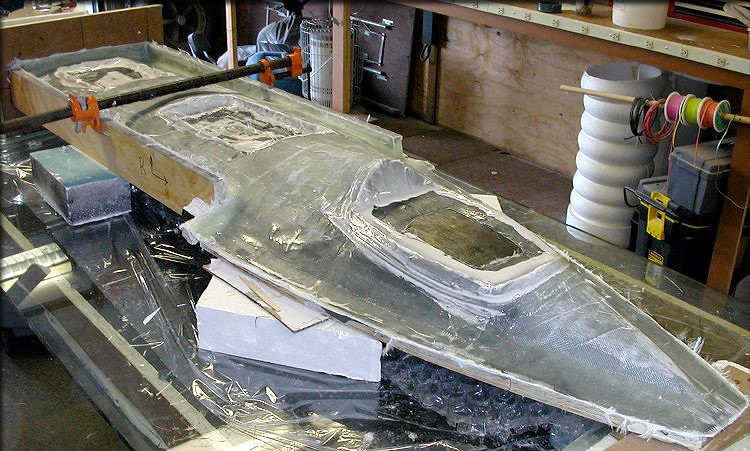
Molds separated with no damage to them, or the plug. The streaks you see in the mold surface are just wax and PVA that hasn't been cleaned up yet.
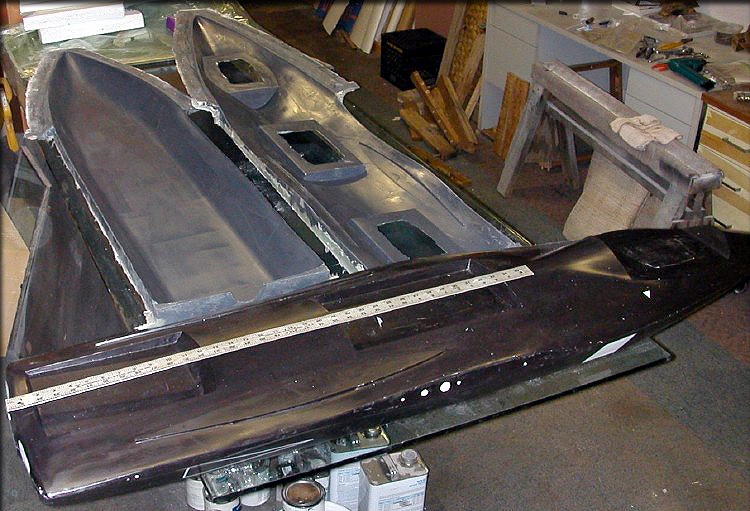
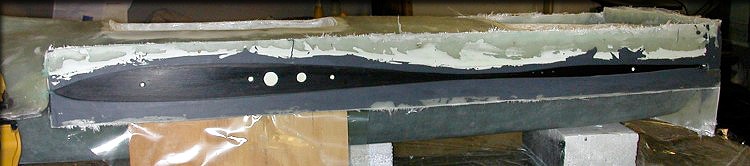
Plug needs to be cleaned, but is fine. Yardstick is a scale reference, for the 70-inch long fuselage.
I've put the plug back in the molds, and here's the one part of the assembly that hasn't been molded yet.
I may offer different versions of this model in the future, including an EDF version, and I'm even considering a turbine version. With that being the case, I realize that I might change the position and/or shape of the wing tube, or I might even use a blade-type spar on the turbine version. So, some time ago, I decided to mold this side panel separately. If I make the changes mentioned above later, the only piece of this assembly we'd have to change would be the side panels. In the meantime, I can leave it attached (or not) to either the top or bottom fuselage mold, for the current version.
So, wax, PVA, and lots of cloth. I'll remove these pieces tomorrow, and that will finish the fuselage molds.
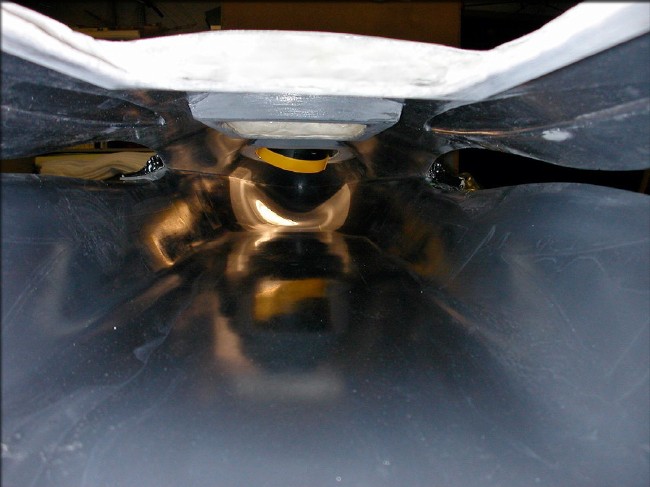
Something a little different. Here's a shot from inside the molds, looking forward.
Side pieces not attached, for clarity.

And here's a shot looking aft.
I'm waiting on a glass shipment, so it'll be a few days before I make the first fuselage.
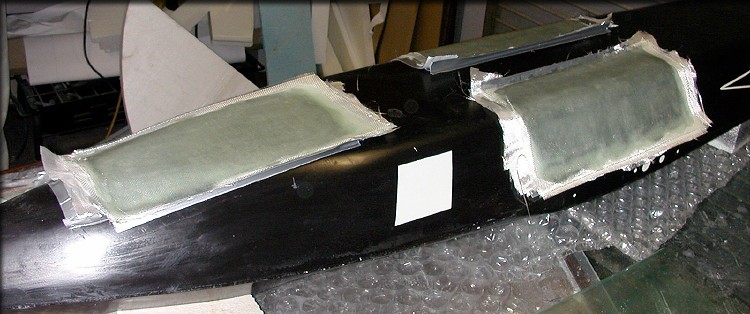
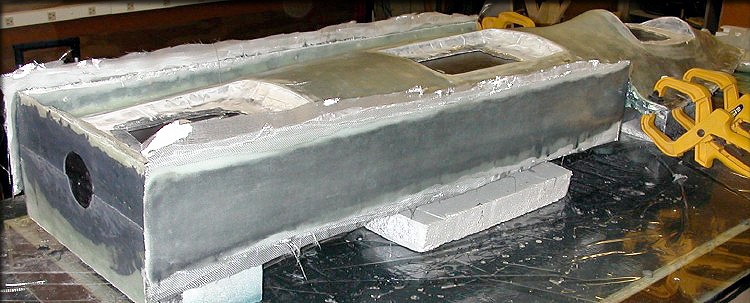
The fuselage already has the recessed areas marking where the gear doors are, so using them as a guide, I waxed and PVA'd the areas, and made layups directly on the fuselage plug, which will create shallow gear door molds.
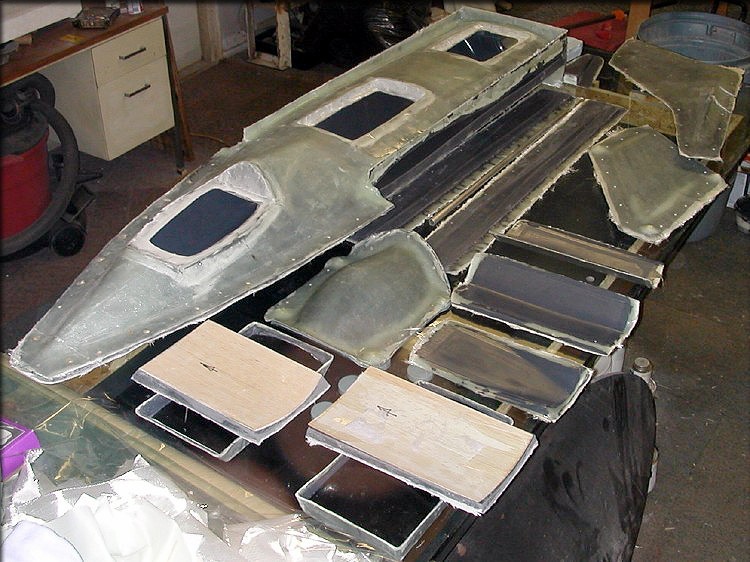
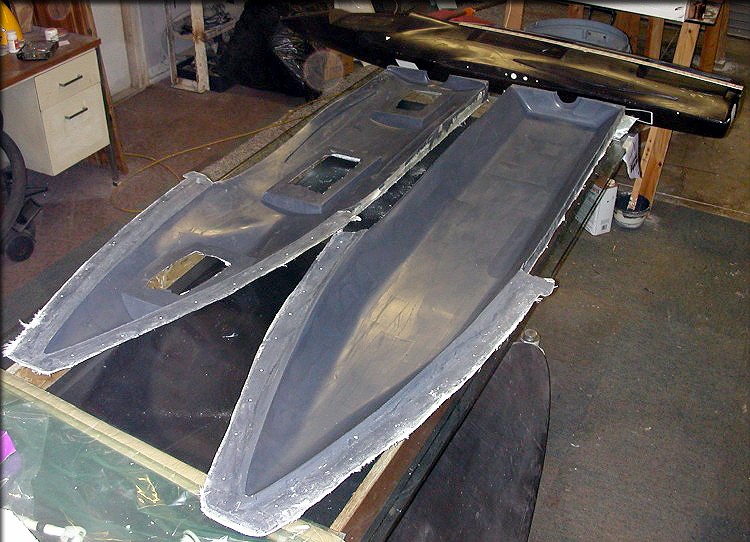
Here's the collection of molds used on this project so far. All are ready, except for the wing molds, which are next.
Click the "Construction 08" link below to continue...