- Design
- Development
- Simulator Tests
- Construction 01
- Construction 02
- Construction 03
- Construction 04
- Construction 05
- Construction 06
- Construction 07
- Construction 08
- Construction 09
- Construction 10
Construction 08 (Final engineering and assembly)
Waiting on a glass shipment, so here are a few of the things I've been doing in the meantime...
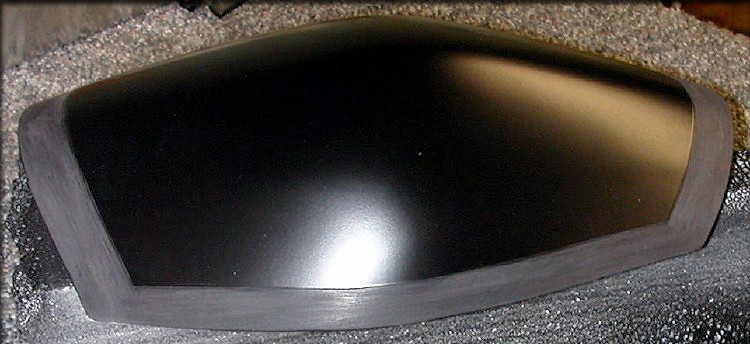
Altering the canopy plug a little, to give the frame a more "satin" look, like the F/A-22 and F-35
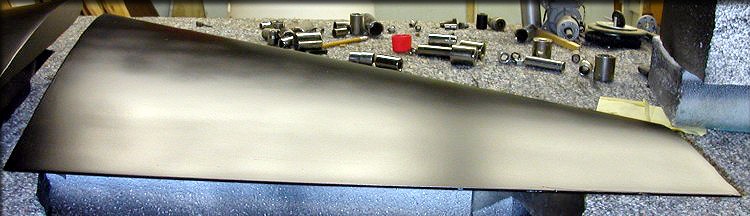
The wing plugs were wet sanded until smooth, then buffed.
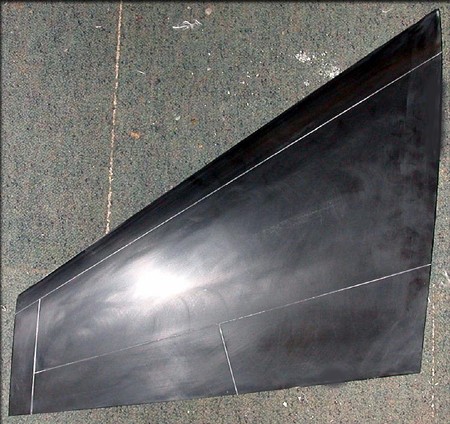
Etching is done for the control surfaces, which will be skin-hinged.
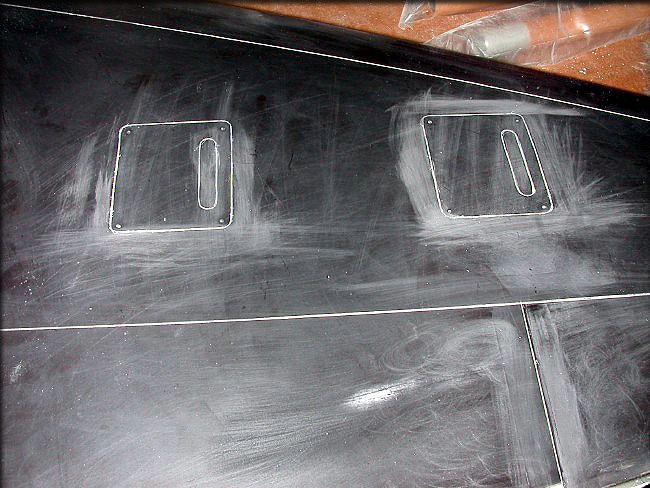
The servo hatches are also etched into the wing bottoms. Later, I'll make shallow female molds of these, as I did with the gear doors. The builder can then cut out the servo hatches, without worrying too much if they damage them, since I'll supply separate ones.
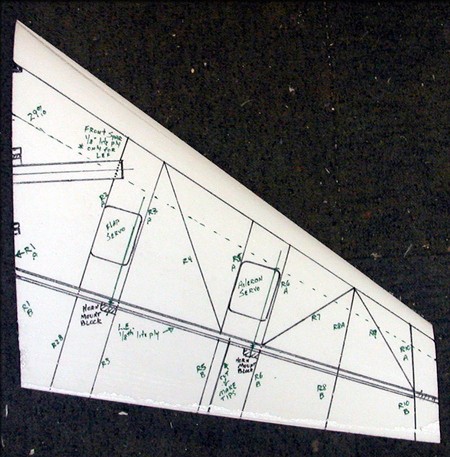
Some of you may have seen my article (here) on slicing up a plastic display model to create accurate cross-sections for scale projects. The same idea was used here. First, I planned the interior structure in CAD. Then, it was transferred onto an extra foam core I created. Finally, this core was sliced up, and the sections traced, which will give us patterns for the interior of the molded wings. They will need small adjustments, but at least I have a head start on the shapes, and it won't take long to get them right. In the end, I'll prep all these for laser cutting.
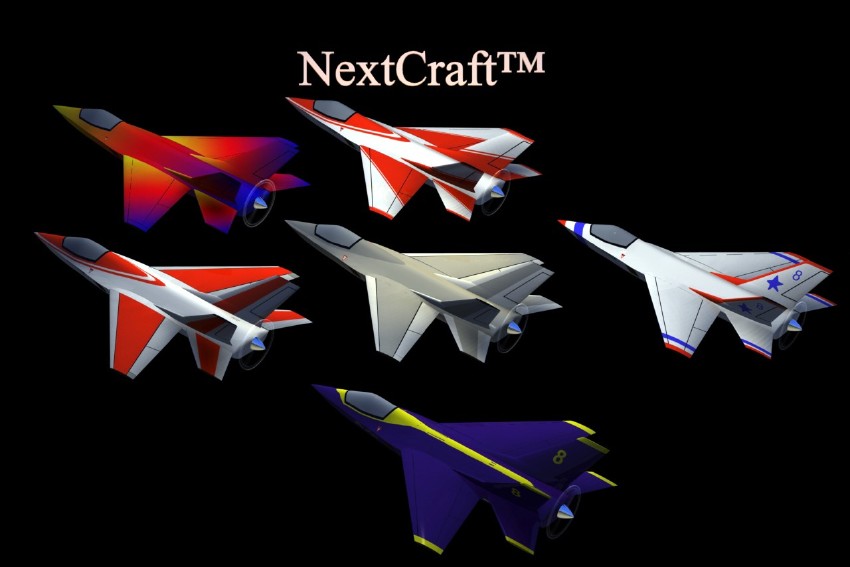
Giving some thought to paint schemes. The one in the upper right hand corner is our test flight scheme, similar to Edwards AFB schemes. (I planned to offer the kit in "raw" glass and/or in white or light gray primer.)
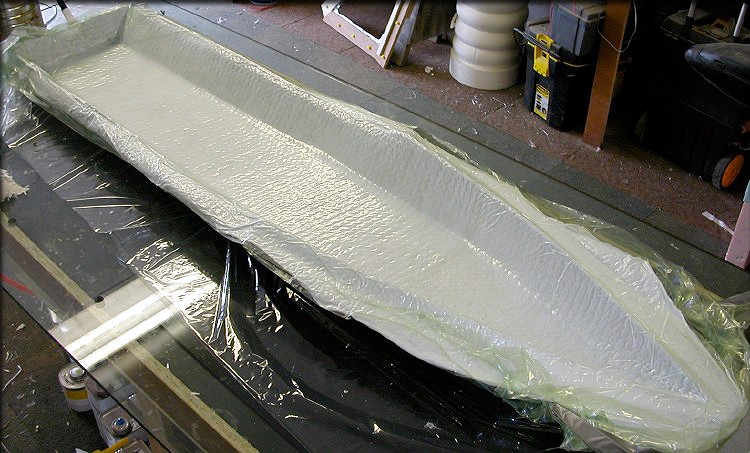
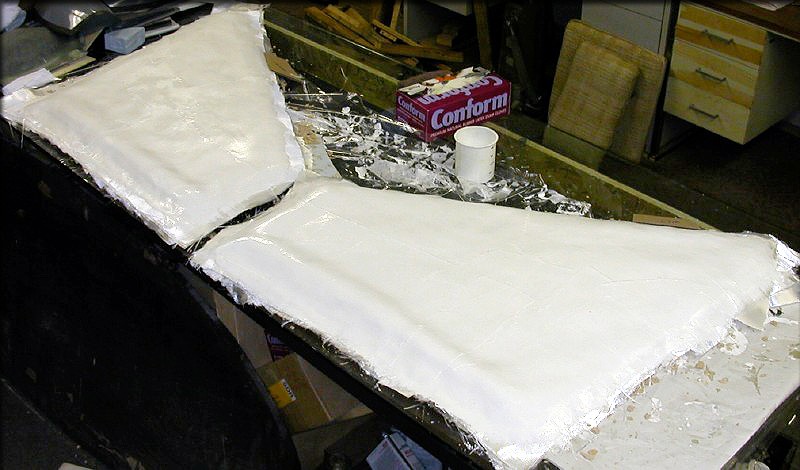
It's always been my intention to make the first fuselage a test piece, to be sliced up, for verifying former shapes. I'm making this one heavy, so it won't buckle when sliced. It's several layers of 6 oz. cloth. (fuselage bottom shown here)
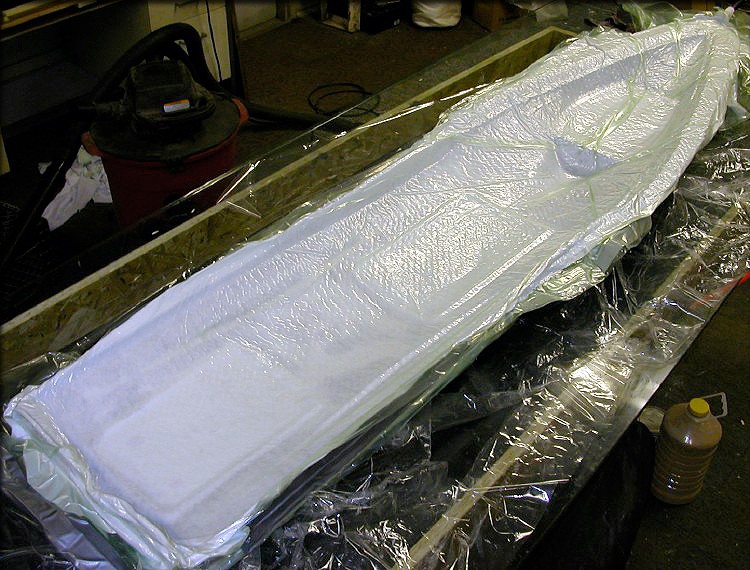
And here's the top part, under vacuum.
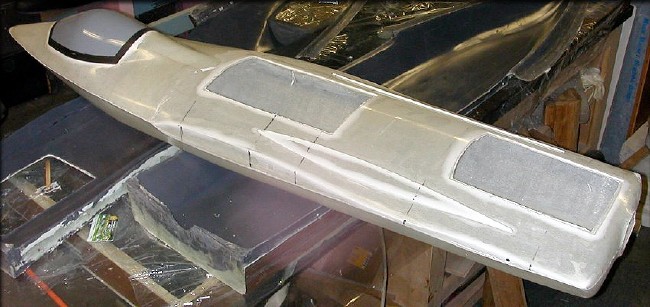
Here's the heavy duty "sliceable" fuselage, out of the molds, with one of the already-molded canopies in place.
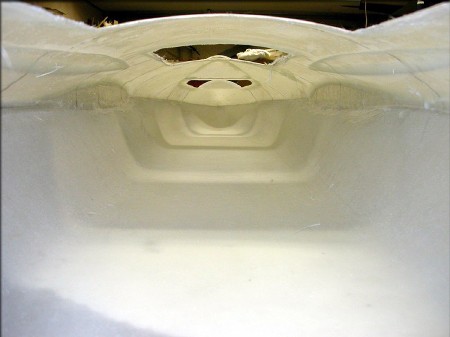
Inside the fuselage, looking forward from the tail.
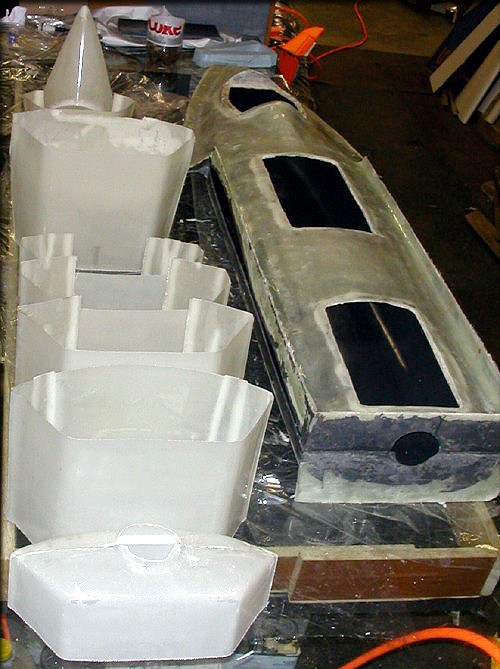
The test fuselage is sliced, and all former locations were traced onto graph paper, for reference.
Now I can fine-tune the formers, before scanning for laser cutting.
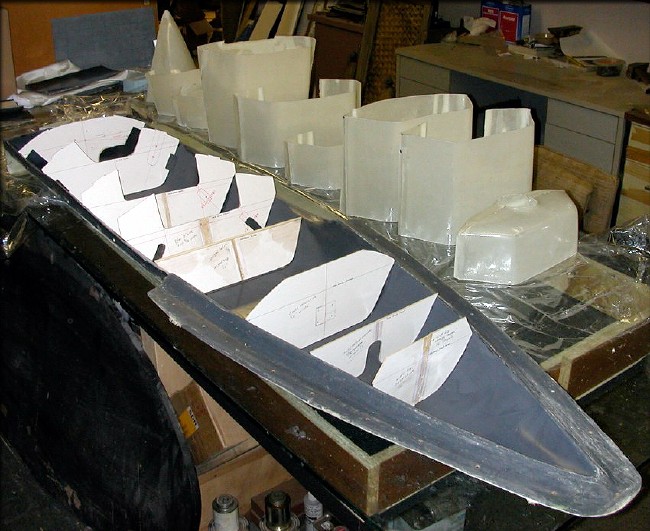
Sample formers made of balsa were trial-fit and adjusted as needed. These will be used as masters, for the actual formers.
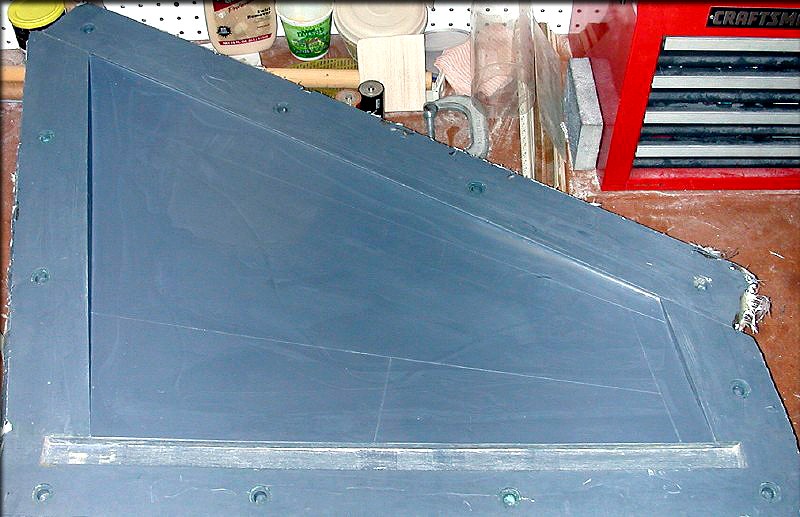
First half of both wing molds is done, and they came out nice.
A little cleanup around the mold perimeter will make the seam straighter and neater later.
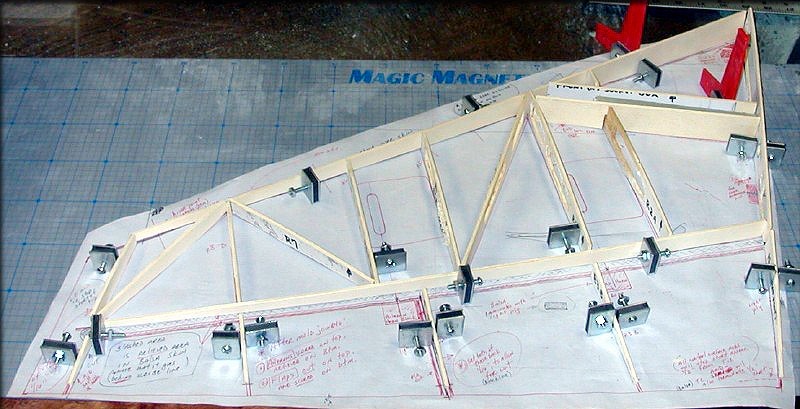
I've test-fit all the wing's internal parts, and everything looks good.
Our new epoxy arrived, and I've finished the second halves of the wing molds.
That finishes all the prototype molds! Now, on to the prototype molding and assembly.
The molds all came out nice.
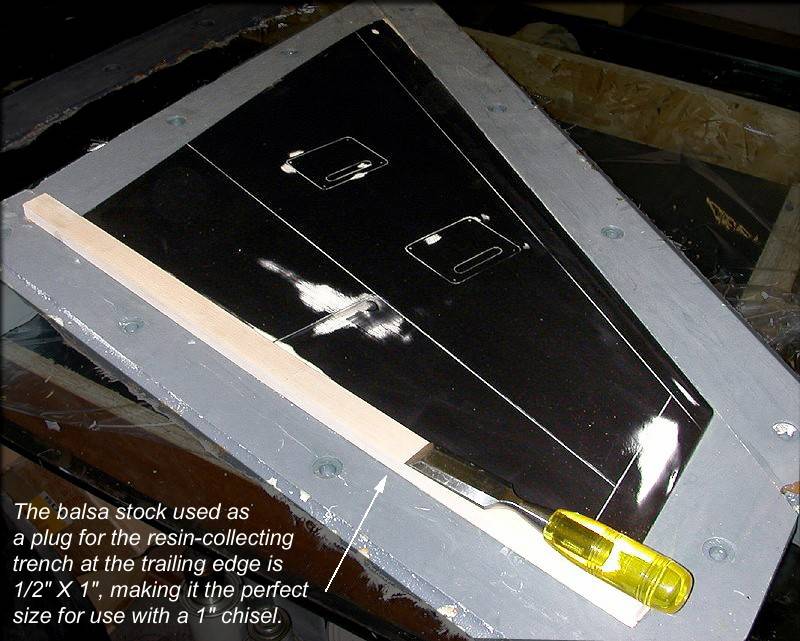
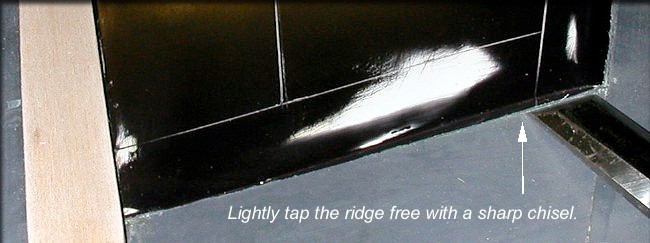
You can see the resin-collecting trench at the trailing edge, which also serves to trim the trailng edge in a nice sharp line.

I had some tooling resin left, and took advantage of it by building a new mold for the vertical fin. This one is open on the bottom, making a better match for the fuselage in production. It also includes etched lines for the rudder, which the previous one didn't have.
Click the "Construction 09" link below to see the prototype molding and assembly.
- Design
- Development
- Simulator Tests
- Construction 01
- Construction 02
- Construction 03
- Construction 04
- Construction 05
- Construction 06
- Construction 07
- Construction 08
- Construction 09
- Construction 10